 It’s official. Autumn is here. Gone are the lazy, hazy, crazy days of summer. Heck, they’re barely a distant memory. Stretching before us are shorter days, longer nights and a definite nip in the air.
But that’s not bad – in the world of food, that’s pretty darn good. Now we can break out the slow cooker, select a sassy bottle of red (or two) and gather round the imitation-log-effect-gas-fire with friends and loved ones. On second thought, forget the friends and loved ones – snuggle up with your dog instead.
Autumn also means football and if ever a sport cried out for food, that’s the one. I mean, why were chip ‘n dip trays invented, if not for football? Don’t like football? Who cares? Turn down the sound and focus on the food instead. Plates full of cheesy nachos, bowls of salted nuts and a go bag of Tums for your guests.
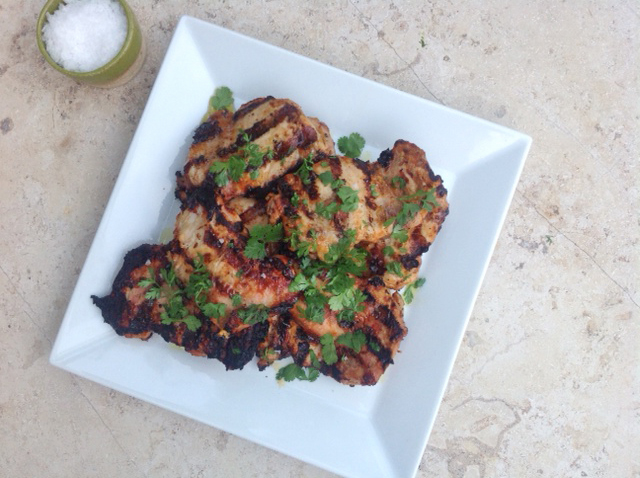
 Of course at Chile HQ, we prefer to serve something more refined to our guests, game on or not. Something that whispers elegance, sophistication and drop-that-last-one-cuz-it’s-mine. Voila! Our Spicy Chicken Fingers. Now as anyone knows, chicken don’t have fingers. Thank heavens as the idea of chickens with ten digits and a pinky ring is simply too weird for words.
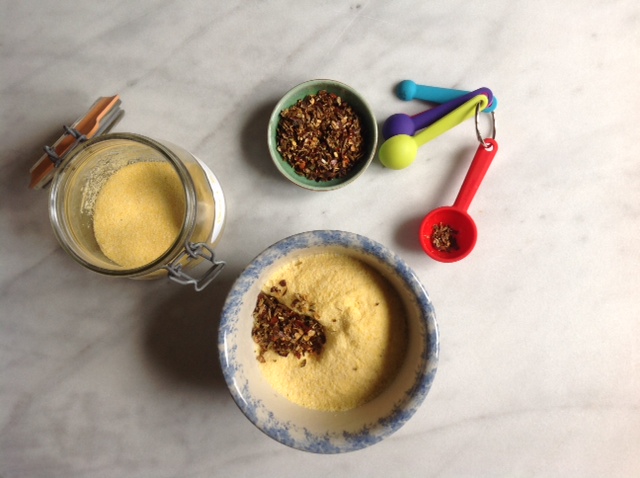
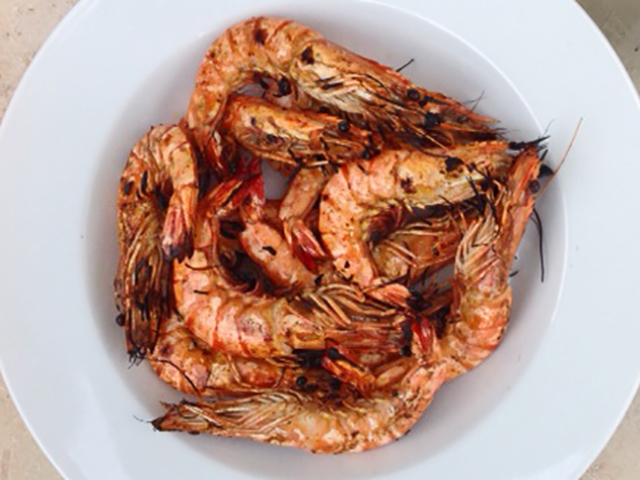
When we say fingers we mean strips. Basically they are slices of white chicken breast meat. Now you could slice these yourself and save a bit of money and feel smug and virtuous. Or you could whip a package already sliced off the shelves and get over it. Your choice. We’ve added a kick of green chile to a mix of cornmeal and flour. If you have the time (and you would, if you weren’t so busy slicing up those chicken breasts), then fry one up to sample. If it’s not spicy enough you can always add in a bit more chile. Too hot already? Nah, of course not.
We serve these up with our Salsa Santa Fe mix (Red & Green). Frighteningly easy to make and dazzling in its results. Close the curtains (it’s already dark outside anyway), throw another imaginary log onto the gas fire, give Fido a tickle behind the ear, and hunker down. Summer’s over but who cares. Bring Autumn on.
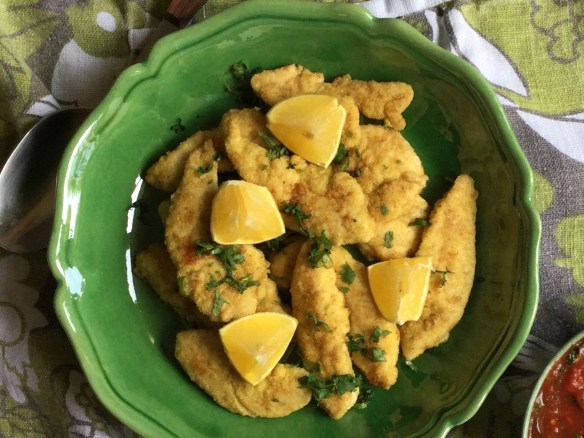
 Spicy Chicken Fingers with Salsa Santa Fe
Serves 2 hungry people or 3 who just ate lunch an hour or so ago
Salsa
1 ½ Tbsp Salsa Santa Fe mix (Red & Green)
1 green onion, finely chopped green part only
Juice of half a lemon
14 oz. can of crushed tomatoes
2 Tbsp cilantro, chopped
Spicy chicken
12 oz. Chicken breast strips
1 egg
1/3 cup all purpose flour
1/3 cup cornmeal
1 Tbsp New Mexico green chile powder
1 tsp sea salt
Olive or vegetable oil.
1 lemon, cut into wedges
Set aside about half of the green onions and chopped cilantro to use as a garnish when you’re ready to serve the chicken. Place all of the rest of the salsa ingredients into a bowl and mix together thoroughly. Allow this to sit for about a half an hour before serving in order to allow the flavors to marry.
In a frying pan, heat a tablespoon or two of oil on medium high heat. While it’s heating, whisk the egg in a shallow bowl and add a pinch of salt. Mix the flour, cornmeal, green chile powder and sea salt in a separate bowl. Dip the chicken in the egg then the flour/cornmeal mixture. Place in the pan and fry until golden brown on one side then flip and cook on the other. Don’t crowd the pan – fry in batches if you need to and top up with additional oil as necessary. Place the cooked chicken on a serving platter and garnish the salsa and the chicken with the remaining green onions and cilantro. Serve with wedges of lemon.