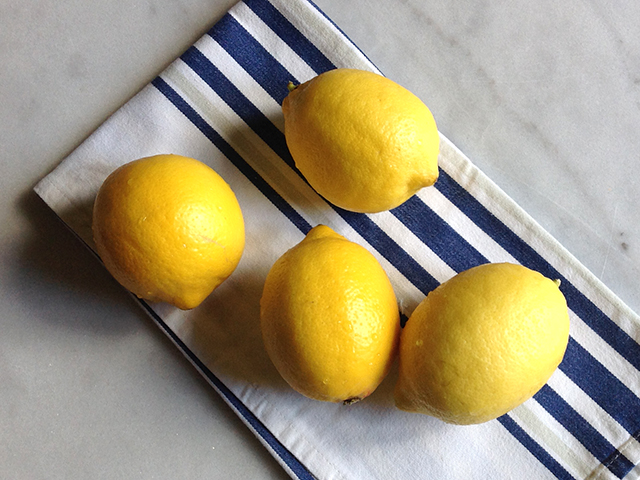
Photo by David Munns
At the Chile Trail we love nothing more than something hot and sassy. And trust us, you don’t get any hotter or sassier than Kay Plunkett-Hogge’s cookbook Heat. The title says it all because this baby is one page turning love letter to that hunk-a-hunk of burning love, the chile pepper.
Plunkett-Hogge is British but born and raised in Thailand where they know a thing or two about chile. She’s lived in London, Los Angeles, Bangkok and New York and travelled the world so she’s tickled her taste buds with more than her fair share of chile. Sure she loves the heat (don’t we all) but she also loves the way chile plays well in the culinary sandbox with other ingredients to create a dish that sings. Heat has it all from subtle to scorching and nothing escapes the KPH radar including some mighty fine desserts.

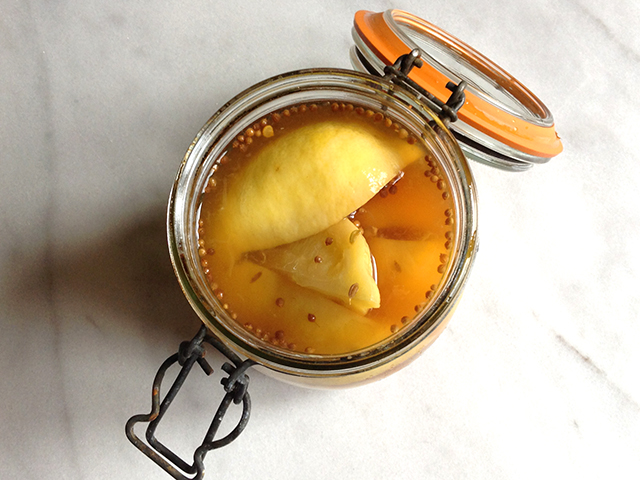
Photo by JP Masclet
Choosing a recipe from Heat to share with you lovely Chile Trailians, was as difficult as choosing a favorite chile and you know how tough that is. But in the end we settled on Texas Hold’em Chili because it’s hot and sassy and you know how we love that combo. We’ll let KPH tell you the story behind this one…
Texas Hold’Em Chili
The Kellys were Texans through and through, who just happened to live next door to us … in Bangkok. They introduced me to America’s south-west and to Mexico when I was just 12, jump-starting my love for the food of the New World. A good 35 years later, it’s an affair that shows no sign of abating. So this chili is inspired by those early Texan experiences and by Texas Hold ’Em, the so-called Cadillac of poker, wherein each player is dealt two cards, followed by five shared community cards. Where the player makes their hand from seven cards, we make this chili from seven chiles. Note that there are no beans or tomatoes here. It’s Texan. Deal with it. Note too that you need a cut of meat with some fat and connective tissue that will stand up to the slow cooking, such as chuck or shin.
SERVES 6–8
1.5kg (3 ½ lb) stewing beef, cut into 3cm (1 ½ in) dice
3 tbsp vegetable oil
3 guajillo chiles
2 pasilla chiles
2 cascabel chiles
4 chiles de árbol
2 chipotle chiles in adobo sauce and 2 tbsp of their sauce
1 large onion, peeled and chopped
4 garlic cloves, peeled and chopped 1 jalepeño, seeded and chopped
1 serrano chile, seeded and chopped
2 tsp each of ground cumin, chilli powder and dried Mexican oregano (or regular oregano will do)
1 tsp ground cinnamon
200ml (7fl oz) beer
800ml (1 ½ pints) beef stock
2 tbsp cocoa powder or grated dark chocolate
1–3 tbsp cornmeal or masa
salt and freshly ground black pepper
chopped coriander, sliced avocado and sliced jalepeño, to serve (optional)
Season the meat with salt and pepper. Heat a large, non-stick frying pan over medium heat. Add 1 tablespoon of the vegetable oil and brown the meat thoroughly in batches until it’s a deep brown on all sides. You will need to add a second tablespoon of vegetable oil about halfway through. Then set aside in a casserole with a tight-fitting lid.
De-stem and seed the guajillo, pasilla, cascabel and chile de árbol chiles. Toast them in a dry frying pan over a medium heat for about 5 minutes, until fragrant. Remove from the pan and soak them for 20–30 minutes in enough warm water to cover. Then drain and put in a blender with the chipotles, adobo sauce and 4 tablespoons of their soaking water. Blitz into a paste and set aside.
Add the final tablespoon of vegetable oil to the non-stick pan, turn down the heat, and add the onion. Cook until just soft, then add the garlic, jalepeño and serrano chiles. Cook for another 3 minutes or so, until they are soft and really fragrant, then add the cumin, chilli powder, oregano and cinnamon. Stir together thoroughly, then add the beer. Bring up to a simmer, stirring gently to lift any residues from the frying pan, then pour everything into the casserole over the meat. Now add the stock, cocoa and chile paste, and season with salt and pepper. Bring the chili to a very low simmer, then cover and leave to cook for about an hour, stirring occasionally. Then partially remove the lid and cook for a further 30–45 minutes, or until the meat is tender.
Now turn up the heat a little and add the cornmeal or masa, a tablespoon at a time, stirring well after each addition, and cook it in until the whole chili has a silky, rich texture. Note that cornmeal will give a texture to your sauce, while the masa will simply thicken it. I prefer the cornmeal, but it’s a matter of personal taste.
Serve garnished with chopped coriander, sliced avocado and slices of jalepeño, if you like.
Photo by David Munns


 Serves 4
 It’s here. It’s time. No excuses. Feel the burn. Yep, it’s barbecue season. The thought of lighting up the barbecue fills people with either 1) joy or 2) abject fear. Now don’t get me wrong – the joyful folk aren’t necessarily the best at the grill. They may like the stuff of a bbq – the smoke, the super-sized tongs, the apron which says something marginally inappropriate on it, the requisite adult beverage.
 So for both you joyful and fearful folk we salute you. Get yourselves sorted before you light up and you’ll be one, two, maybe three steps ahead of the game. For this recipe, we marinated chicken thighs with